
So you’re ready to start split testing your way to more leads and sales, but you’re not sure how to set them up inside of Leadpages?
Well, don’t worry, I’ve got your back!
So far, I’ve used Leadpages to create a number of pivotal split tests for my business, and it couldn’t be any simpler to do…
When I found the one word in my landing page that increased my conversion rate from 25% to 48% that was nearly 100% increase in leads with the exact same traffic.
In this post, you’re going to learn:
- What you can split test in Leadpages
- What you should split test first
- How to set up a split test in Leadpages
- How long you should split test for
Ready? Let’s dive in…
What Can You Split Test In Leadpages?
Leadpages allows you to split almost any element of your landing pages, sales pages, content pages and checkout pages.
Here’s a few things you can begin split testing on your pages:
- Headlines
- Landing page, sales page or checkout page designs
- Background images or colors
- Opt-in form fields
- Call-to-action buttons – color, copy, positioning
- Product images
- Test product pricing
- Checkout form fields
- Testimonials
- Bullet points
And that’s just to name a few!
What Should You Split Test First?
When it comes to sales funnels, if you want to make sure that your opt-ins are as high as they can be and that the conversions for your one-time offer and your one click upsells are at their peak, then there are 3 things you should definitely consider split testing.
- Landing Page
- Sales Page
- Checkout page
Each section will break down how to test each in more detail, so you will have a plan for how to test your pages to optimal conversions.
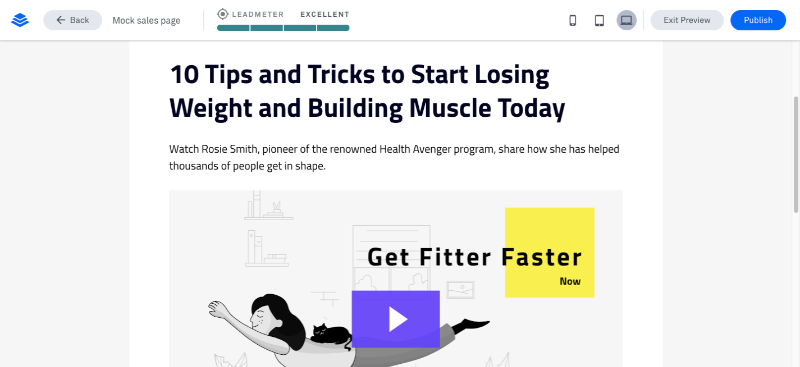
1 – Your Landing Page (Opt-In)

Your landing page is the gateway to your funnel, the more people who you can get to opt-in to your list via your landing pages, the more people you will have seeing your offers… That’s why it’s critical to try to get as high a conversion rate as you can…
With your landing page, you want to see a 40% to 50% conversion… Therefore you need to continue split testing different elements of your landing page until you cross the 40% opt-in rate.
In fact…
Here are the first two split tests you should run on your landing page.
1. Your Headline
The very first thing I would split test is your headline.
A good headline is going to sell your audience into subscribing to your email list.. More than your bullets or product image ever will.
Split testing your headline is going to help you discover what words and marketing angles pushes your audience’s hot buttons the most.
Here’s the thing…
I’ve changed one word in my landing page before and it increased my conversion rate from 25% to 48%… That was nearly 100% increase in leads with the exact same traffic!
The second most important element to test on your landing page is…
2. Your Offer
Finding the right offer that gets your audience excited can take some time.
You most likely won’t get it right the first time and that’s fine.
But by continually testing different offers & lead magnets over time… You’ll end up finding your golden offer that skyrockets your conversions.
Those are the two most important split tests you can make and they will have the biggest impact on your returns.
Other minor tests you can make are…
- Adding or removing bullet points
- Adding or removing social proof
- Reducing the number of form fields on your opt-in form
Note! Don’t split test more than one variable at a time. If you create more than one variable in a test, you won’t know which of those variables is making all the difference in your results.
When you’ve got your landing page converting at 40%+ it’s time to split test your sales page…
2 – Your Sales Page
With your one-time-offer and sales pages, you want about 20% of your audience clicking the “buy now” button …
Some ways you can split test your sales page would be by testing:
- Video sales letters vs text based sales letters
- Adding testimonials
- Headlines and bullet points
- Stories in your sales letter
- Marketing angles
- Buy Buttons
Again, only split test one of these items at a time.
After you achieve the 20% click thru percentages on your sales page, it’s time to move on to your checkout page.
3 – Your Checkout Page
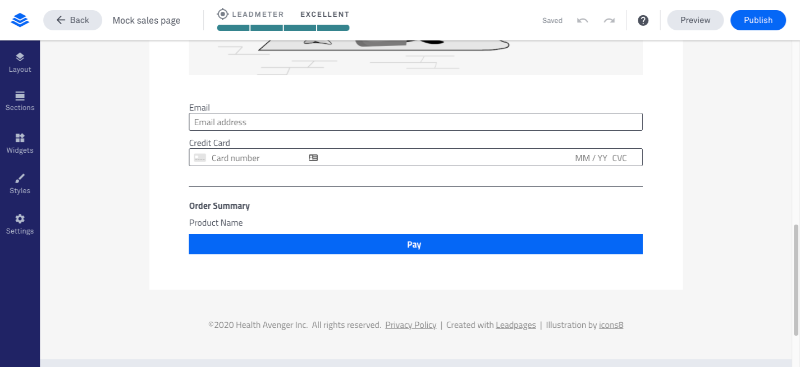
Just like your sales page, your checkout can be split tested in various ways to ensure maximum conversion, and needs to be converting at a 1%-2% conversion rate…
Here are a few:
- Reducing the amount of fields in the checkout form
- Adding testimonials to the side of checkout page
- Adding security images
- Adding a guarantee logo
- Adding a video from you letting them know they’re making a wise choice
- Adding your customer support information
Even something as small as adding or removing your company logo can make a big difference when it comes to sales…
It’s your job to build a checkout page that makes your audience feel safe and confident enough to complete the purchase. Split testing makes this job so much easier for you.
So now you know what to split test, let me show you how…
How To Setup a Split Test On a Landing Page
NOTE! In order to create a split test, you need to have created and published the two pages you wish to test against each other. Only when you’ve done that is it time to create the test.
Here’s how to split test a landing page on Leadpages…
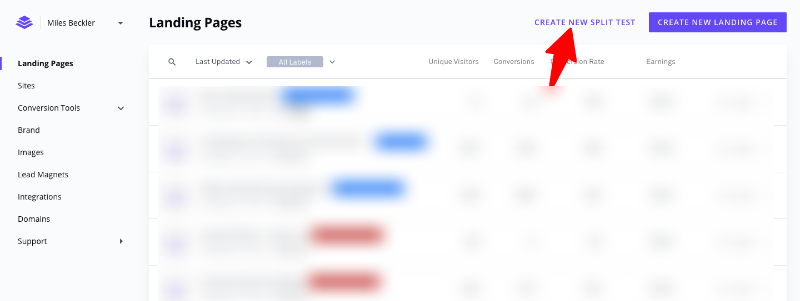
First, click the “CREATE NEW SPLIT TEST” button at the upper-right corner of the menu in your Leadpages Dashboard. Like here:
Next, you’ll want to name your test by hovering over its placeholder title, as shown below:

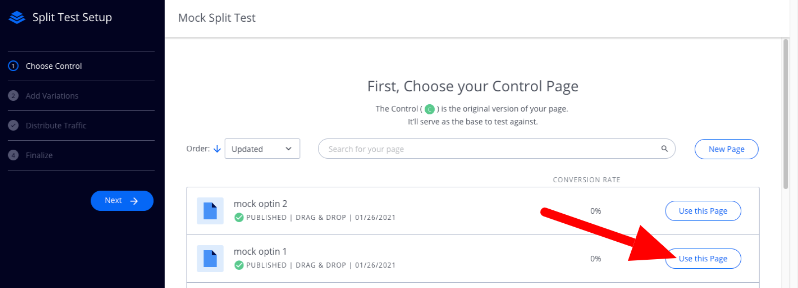
Choose a Control and Variation
Next, you want to browse your list of pages and click Use This Page to set your split test’s control page which your variation page will be compared against.
Note! Each split can only have one control page, but you can change your control page at any time by clicking Choose Control from the left-hand sidebar and choose another page. Like this:
When you’ve selected your control page, you’re then asked what page you’d like to set as your variation….
Click Add a Variation, then choose whether you’d like to copy your control page (this is better for testing small changes like headlines or button colours, or test against a completely different page entirely. Shown here:
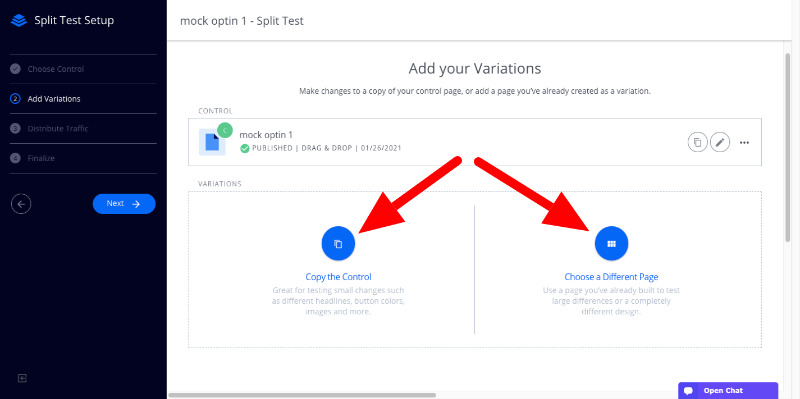
If you choose to copy your control page, you’ll need to edit and publish the new variation in order to use it in your split test. If you click the pencil icon next to the variation title, you can edit your new page in a new tab.
However…
If you choose to test a different page entirely, then after you’ve clicked on Choose Different Page, you’ll be asked to choose the page you’d like to use as the variant in the test.
Distribute Traffic
Once you have selected your pages and clicked the Next button, you need to decide how you want traffic to be distributed to your pages.
Note! Once you have created your split test, you will not be able to adjust the traffic distribution.

All this basically means is when people start visiting your split test URL, Leadpages will automatically direct them to either the control or variant page based on the traffic percentages you choose.
I normally set up my split tests at 50/50 traffic because I like to send my variant enough traffic so I can quickly begin to see if it’s improving my conversion rate or making it worse.
Start Your Split Test
Finally, click Next to begin reviewing your split test, making sure you’ve chosen the right pages and everything looks good to go, and then click Start Test to activate the split test.
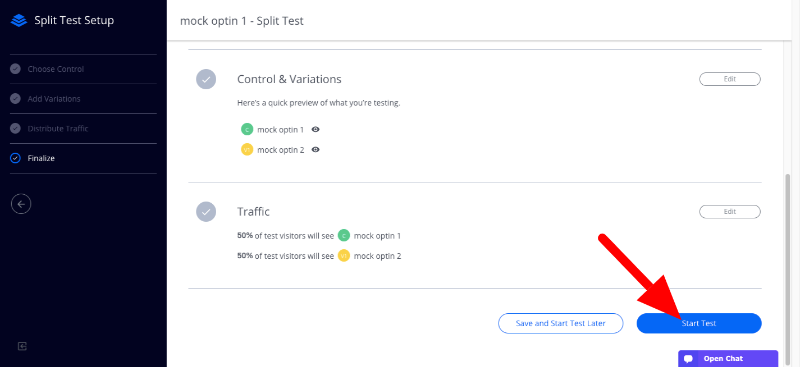
And that’s it you have a split test up and running!
From here, setting up a split test for a checkout page, sales page or any page for that matter follows this exact same simple process. So once you’ve nailed the simple process above, you’ll be able to set up split tests for anything you’d like.
How Long Should You Run Your Split Test?
When it comes to split test data, more is always better than not enough, and you need to make sure with any split test you run that you’re able to reach statistical significance.
If you can drive a minimum of 1,000 to your split test over a 2 week period, you’re going to create the statistical significance you need to see what changes are making a difference in your sales funnel.
Until that point, it’s going to be hard for you to gather conclusive data.
For opt-in pages, you really want to be focusing on running your split test until you hit 40% conversion rate…
If you’re currently at a 40% conversion rate, then continue to test to see if you can beat it while opening up tests on the back side of your optin page. E.X. one time offer page, upsell pages, etc.
Tough but worth it!
Conclusion
Successful split testing can turn your campaign from losing money to break even… From break even to profitable, and continually increase your profit margins.
Get split testing right and you will be able to make consistent improvements on your conversion rates all across your funnel, thus earning more money with the same amount of traffic!
A/B Split testing is going to help you fine-tune your sales funnels and marketing campaigns by identifying exactly what is driving your audience to take action on your landing pages.
By identifying which parts of your landing pages influence conversion rates, you can laser focus on what’s driving opt-ins and sales by doing more of what’s working and eliminating that that is having a negative effect on your conversion.
I hope this post has been helpful and I look forward to seeing your split tests online!