
Integrating AWeber with LeadPages will allow you to automatically forward your new subscribers opt-in information you collect with your landing pages to your Aweber account.
So…
How do you connect AWeber and LeadPages?
It’s actually a lot simpler than you might think, and you definitely don’t have to hire any kind of expensive coder.
In fact, this article has ALL the information you need to get AWeber and LeadPages communicating with zero tech knowledge (seriously), including screenshots to make things super easy for you to understand.
Ready? Let’s dive in.
Note:
If you already have an AWeber and LeadPages account, you’re all set.
If you don’t click here to get Aweber’s free plan and click here to learn why LeadPages rocks and how to set it up.
How to Integrate LeadPages and Aweber
First you need to make sure your AWeber is connected to your LeadPages account. You can do this using the following simple steps:
Step 1: Connect Your AWeber Account to LeadPages
Login to your LeadPages account.
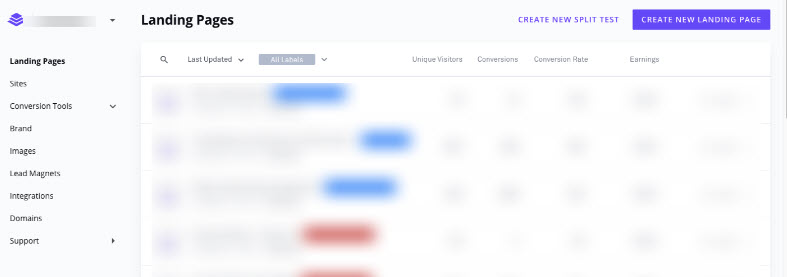
In this article, I’m assuming you already have designed your opt-in page and added a signup form.
So with that in mind, here’s what to do next.
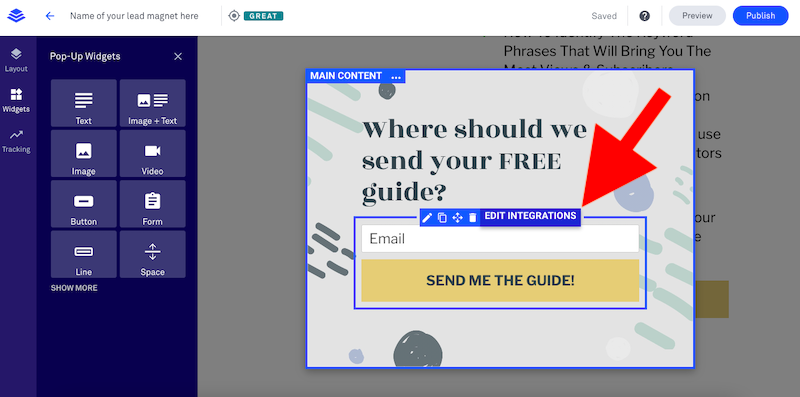
Hover over your button widget and click EDIT POP-UP. As shown below:

Your popup form will appear.
Hover over the button on the form and click EDIT INTEGRATIONS. As shown below:
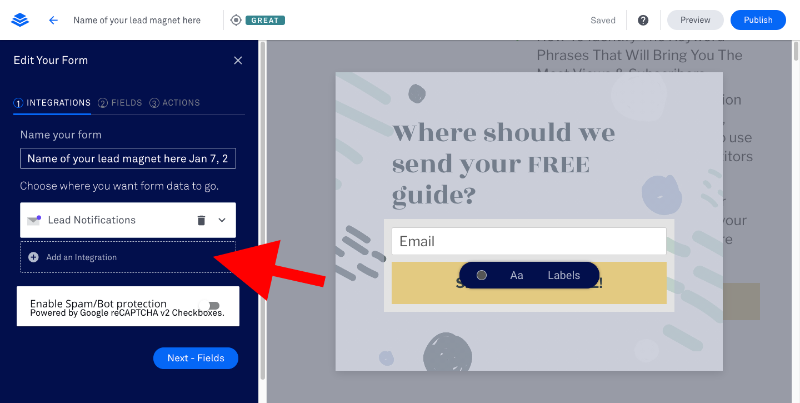
A menu will appear on the left hand. Select ADD INTEGRATION. As shown below:
Click MORE SERVICES. Like below:
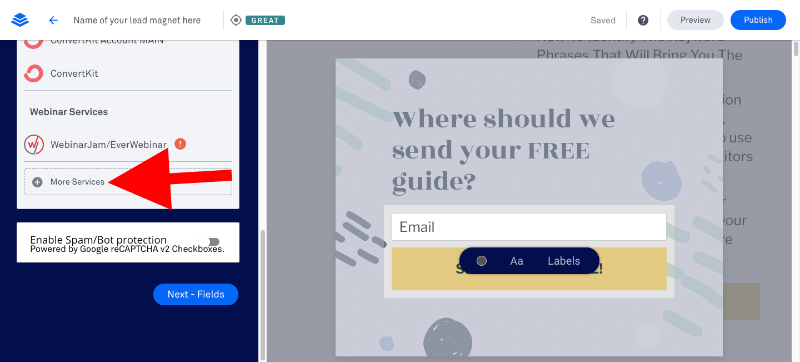
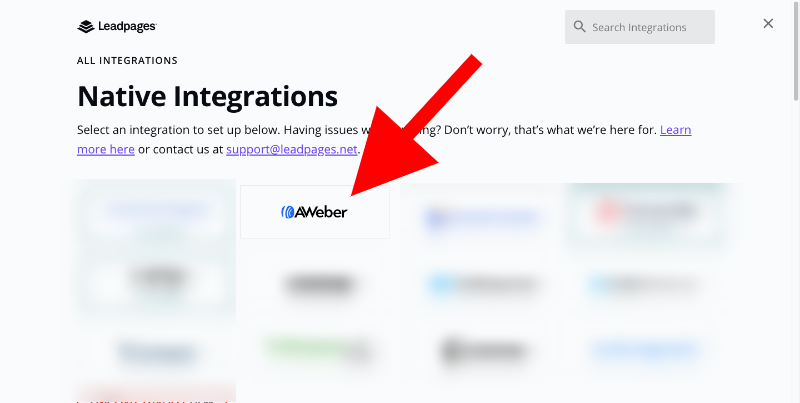
A new page will appear.
Click on AWEBER. Like here:
On the top right corner of the page, you’ll see a button that says CONNECT NEW ACCOUNT. As shown below:
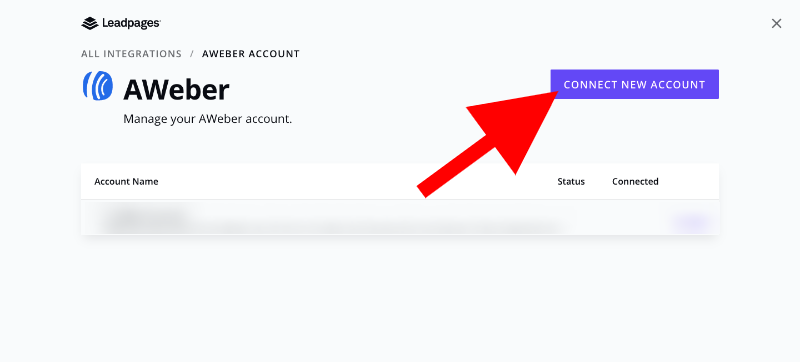
Click on it.
Now you’ll find something like this on your page:
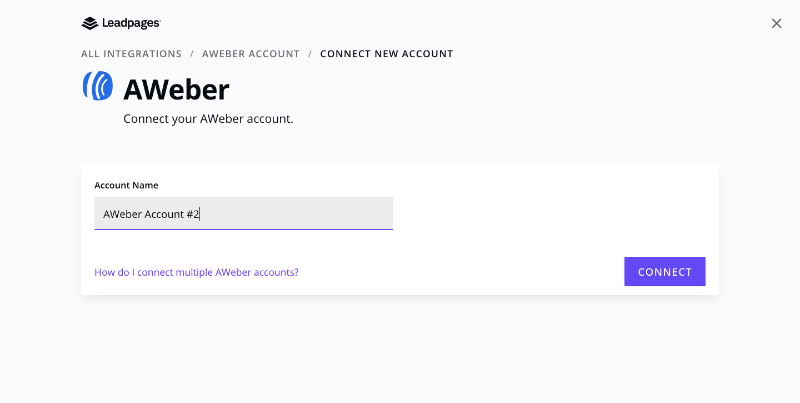
Give your account a name. For example ‘My LeadPages account’.
You can give whatever name you like.
Click on the blue CONNECT button.
A page will appear asking you to login to your AWeber account. Like this:
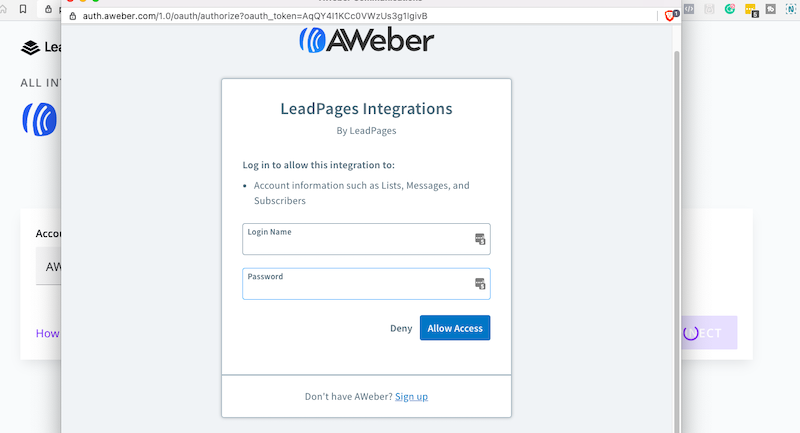
Fill in your AWeber account information and click on the blue button that says ALLOW ACCESS.
If you don’t have an AWeber account yet, now is the time to go get one. You can’t proceed without one.
Once you’ve added your information you should get a screen that looks like this:
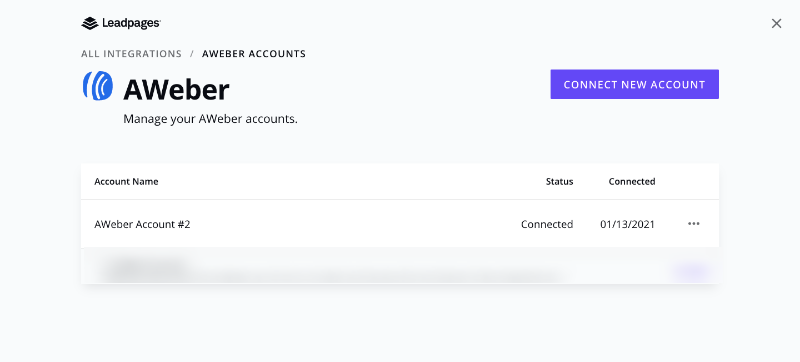
If the status is showing as ‘Connected’ then your Aweber account is now successfully connected with Leadpages.
Now click the x sign on the top right to close the window.
You’ll be taken back to the screen you started with.
Congratulations. Now you only need a couple of more steps.
Before I move on, you should know something. You can connect your AWeber to your LeadPages account only once so make sure the account you’re using is your final confirmed account.
Step 2: Connect Your Email List to Your LeadPages Form
On the menu on the left-hand side under EMAIL MARKETING SERVICES, you should see that your AWeber has been connected to your LeadPages account. As shown below:
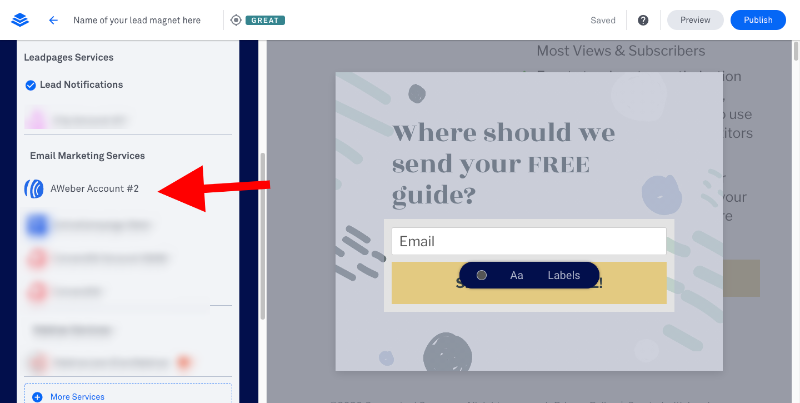
Now click on it.
A menu will appear that reads SELECT A DESTINATION. When you click on it, a dropdown menu should appear.
From this menu, select the list you want to use with your form.
Let me stop here for a minute and explain what I mean by forms and lists in case you’re confused.
Using AWeber you can create separate lists as well as forms which you can integrate to LeadPages.
How to Create an Email List on AWeber
To access your lists, login to your AWeber account.
On the top menu, you’ll see an option of LISTS. When you click on it, something like this will appear:
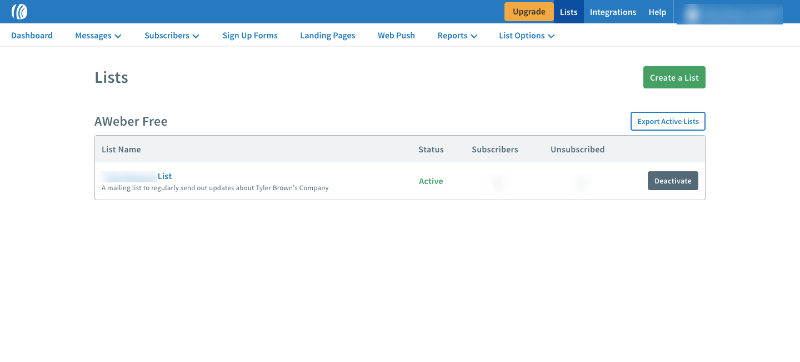
By clicking on the green button that says CREATE A LIST, you can create a new list.
How to Create a New Optin Form on AWeber
If you want to make changes to your LeadPages optin form fields, you’ll need to do it using your AWeber.
So to create a new form or edit an existing form, go back to your homepage.
Select your subscribers list for which you want to create a form from the dropdown menu on the top of your screen.
Below the blue menu, you’ll see the option of SIGN UP FORMS. Like this:
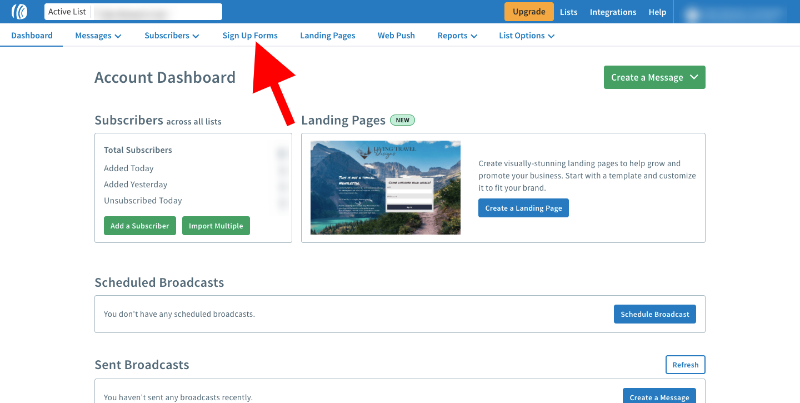
Click on it.
You should be able to see the form you created previously.
Click on the tiny EDIT button you see.
A page will appear that looks like this:
From here, you can change any form fields you want or create new ones. Once you click the green SAVE YOUR FORM button all changes will be applied to the optin form you have in LeadPages.
If you have multiple forms you want to make changes to, you’ll need to follow the exact same steps.
Just make sure to click the SAVE button as you make changes.
Also if you want more people opting in and more subscribers, have less number of fields. People on the internet are too lazy to fill in too many fields.
Now go back to your LeadPages tab.
Step 3: Create Tags
LeadPages will ask you to select or create tags. Like shown below:
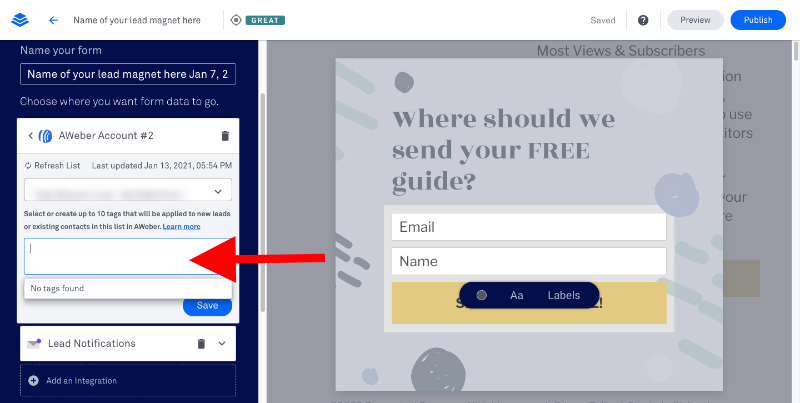
Don’t get confused here. Create any tag you want to apply to your list.
Let’s call it ‘New subscribers’ for now.
After you’ve added tags, click the SAVE button.
Step 4: Create Form Fields
Now you’ll be prompted to add fields to your form. Like shown here:
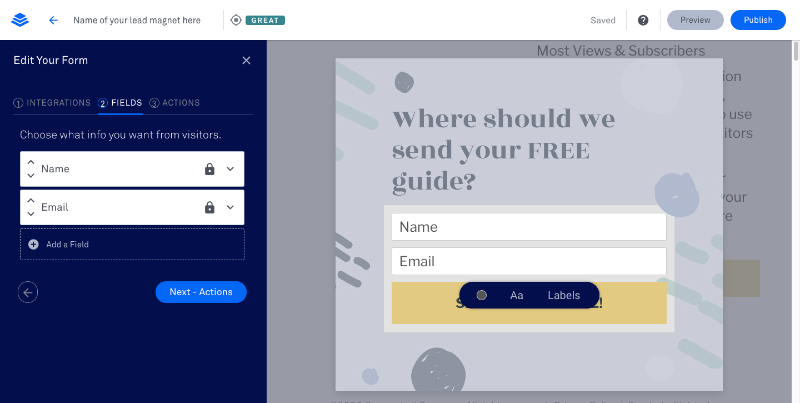
Remember you created form fields in your Aweber a little while ago?
At this step, you simply need to select those form fields from the dropdown menu and click DONE once you’ve added them.
Step 5: Choose Where to Send Subscribers
LeadPages will ask you where you want to send visitors who opted in. As shown below:
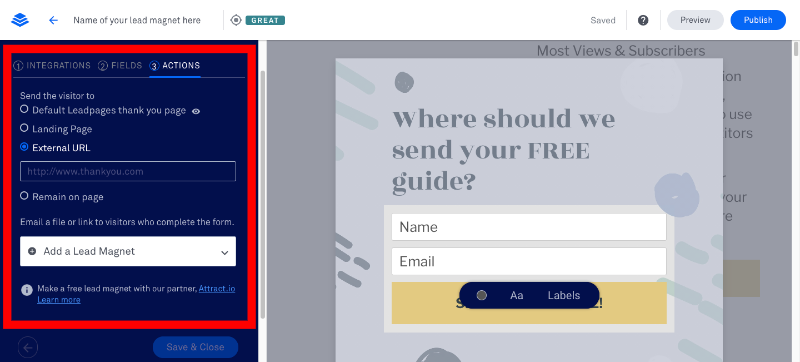
If you want to send subscribers to a thank you page, you’ll have to set it within LeadPages, not AWeber because that’s how their integration works.
Use whichever option you want to go with and click SAVE AND CLOSE.
Now click PUBLISH.
You’re all set. Your LeadPages AWeber integration is successfully done.
What Next?
Before you log out of both LeadPages and AWeber, make sure to test that your optin form is actually working.
The last thing you want is subscribers filling in your form but seeing a blank page with an ugly code instead of a thank you page.
Another thing you need to know is that AWeber integration with LeadPages automatically works on the double optin format. This means that when visitors submit the form to you, they’ll receive an email that will ask them to confirm subscription by clicking on the button.
If you wish to disable double opt in you’ll need to contact AWeber support team.
For now, submit your personal information in your optin form.
When you’ve added your details, go back to your AWeber.
Click on SUBSCRIBERS and you should see your name on that page.
Conclusion
So that’s it!
That’s how you integrate AWeber and Leadpages…
Not too difficult, was it?
Honestly you don’t need to hire a tech guy to do something as simple as this…
You definitely don’t need to frantically email the AWeber or LeadPages support team asking for help…
You don’t need to freak out.
Simply following the above steps. I’ve laid it all out for you…
Within 20 minutes your AWeber and Leadpages accounts will be integrated, and you’ll be ready to welcome new subscribers!